

Digital Print Finishing Solutions
- All
- Product Name
- Product Keyword
- Product Model
- Product Summary
- Product Description
- Multi Field Search
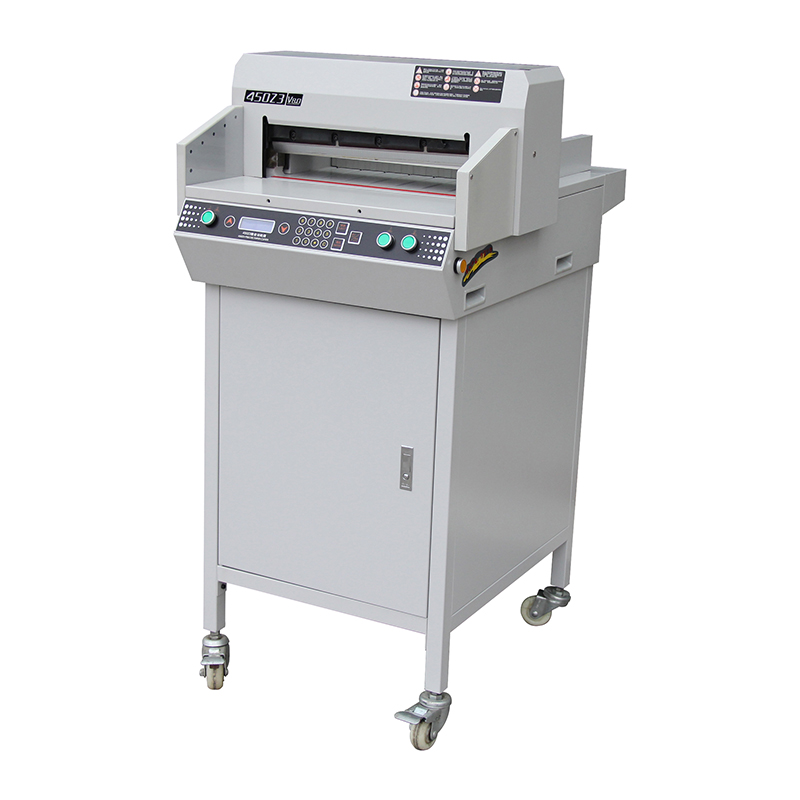 |


450Z3
BOWAY
50mm
450mm
Auto Clamping System, guided on both sides.
Light Curtain Safety System
Powerful Inclining Cutting Technology
Optical Cutting Indicator
Blade Cutting Depth Adjustment Outside
Different Clamping Pressure by seperate Motor
Introduction
The equipment is designed to provide you with improved
productivity, versatility, and quality.
Features
• Intuitive user LCD display
• Programmable for up to 80 programs with up to 99 steps
• Electric blade, clamp and back gauge
Benefi ts
• LED optical cut line ensures accuracy
• Reset button recalibrates machine for accuracy
• Full programmability increases speed of cutting
Safety
• Two handed cut and clamp activation buttons
• Mechanical safety latch and light curtain safety shield
• Push-out feature moves media forward after the cut is complete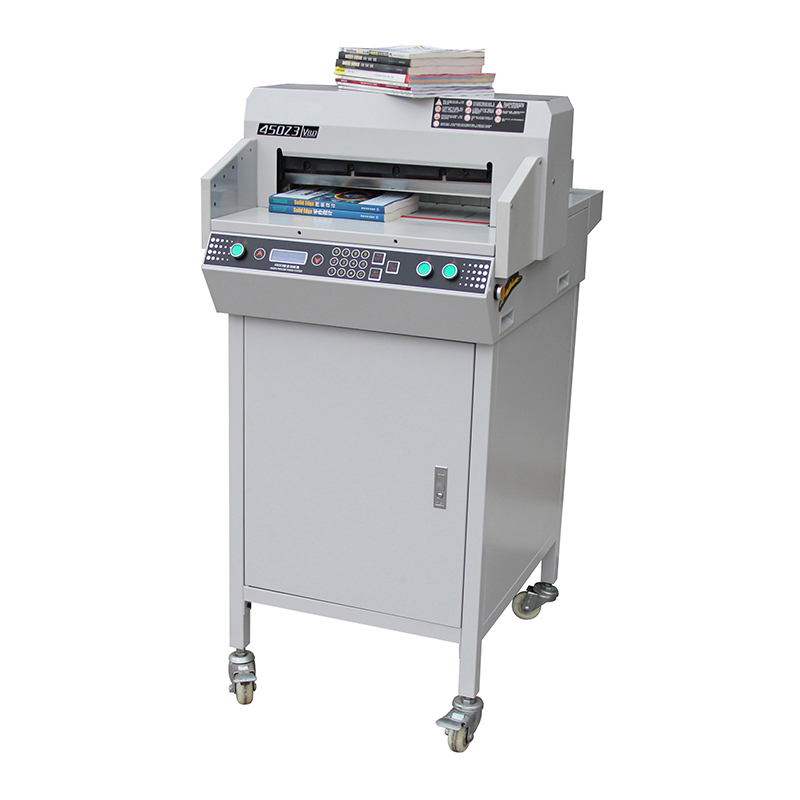


